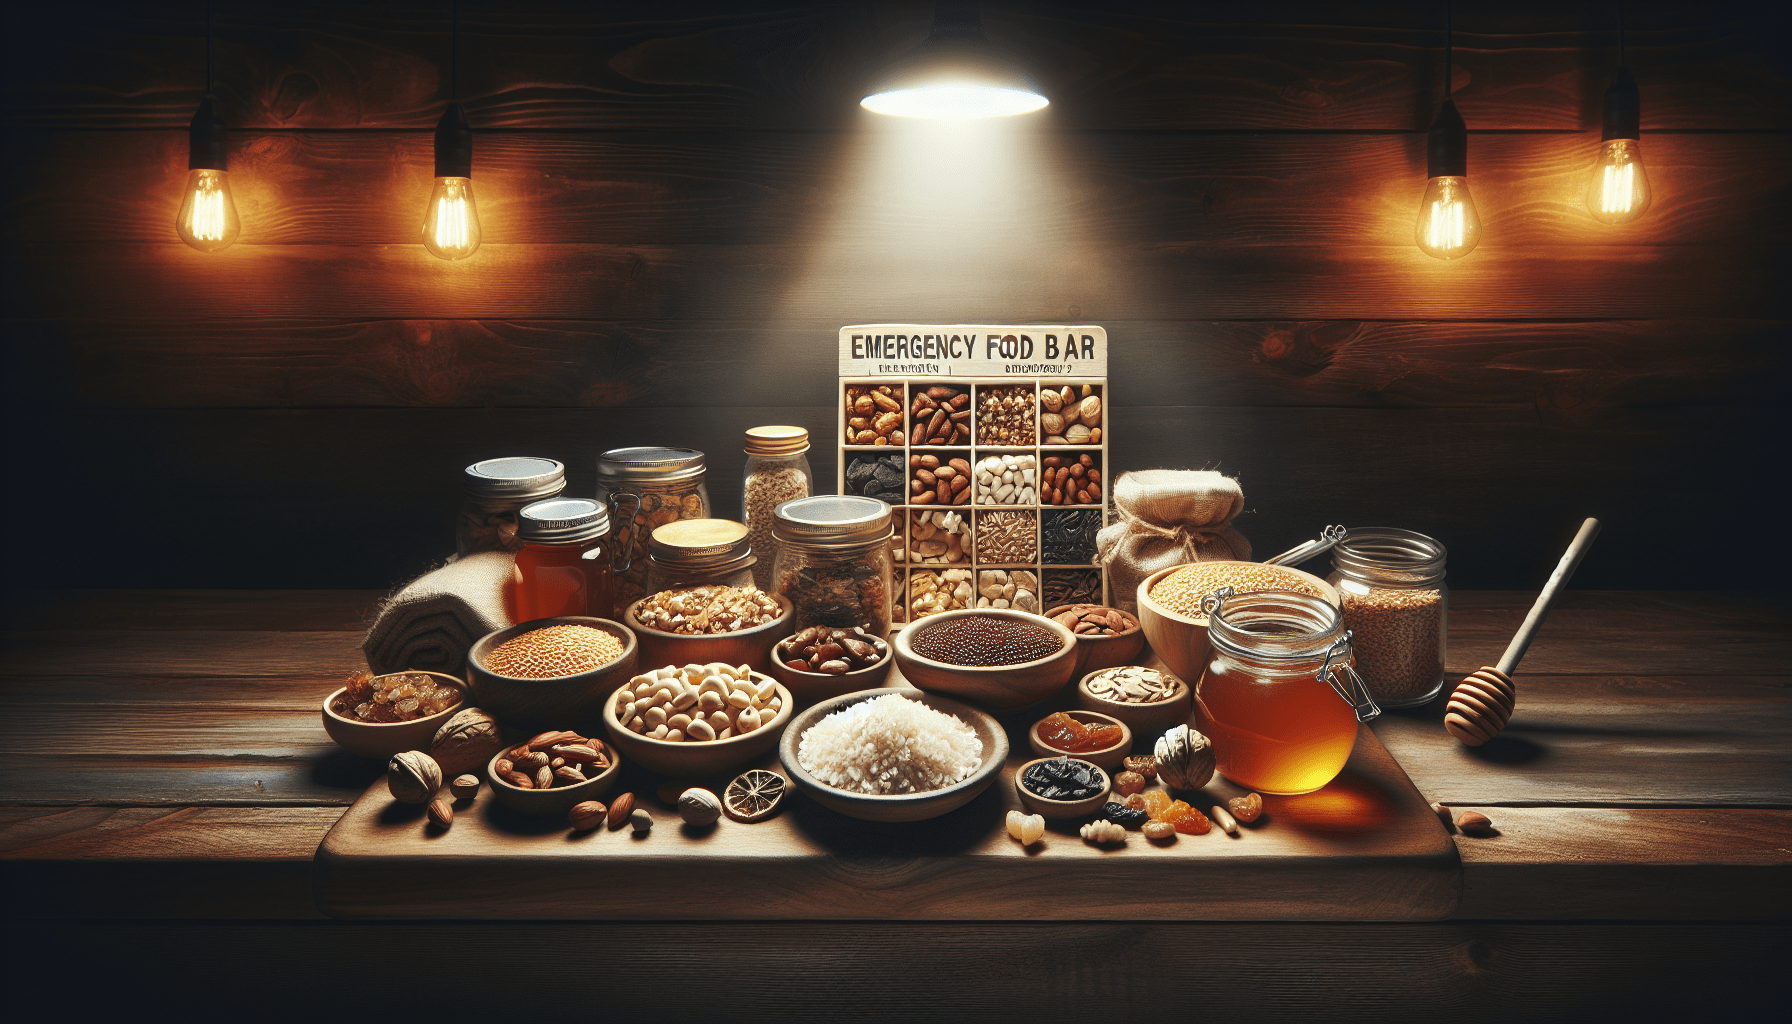
Have you ever wondered if you can create your own emergency food bars? As you think about preparedness and ensuring that you have enough supplies for unexpected situations, it’s perfectly natural to consider crafting your own emergency rations. Not only can creating your food bars be a fun and engaging project, but it can also offer you a sense of control over the ingredients and flavors that suit your taste and dietary needs. Plus, homemade bars can be a cost-effective and nourishing solution to keep you and your loved ones sustained when necessary.
Understanding the Importance of Emergency Food Bars
Emergency food bars are compact, lightweight, and packed with essential nutrients, making them an ideal backup during unexpected situations. These bars serve as a quick and reliable source of energy when you’re stuck without access to fresh meals. Many pre-packaged emergency food bars are available in the market, but making your own allows you to tailor them to your specific requirements.
Why Make Them Yourself?
While store-bought options are convenient, homemade food bars give you greater control over flavor, portion size, and nutritional content. You can choose high-quality ingredients that meet your dietary needs, avoid allergens, and even cater to specific nutritional goals, like higher protein or lower sugar content. This personalization makes them more desirable, especially in continuous sustainability and health consciousness efforts.
Getting Started: What You Need to Know
Before jumping into the creation process, it’s important to understand what makes a good emergency food bar. These bars should be calorically dense, nutrient-rich, and have a long shelf life. The goal is to create bars that can sustain you without needing refrigerate or spoil quickly.
Essential Components of an Emergency Food Bar
Emergency food bars should strike a balance between nutrition and compactness. Here’s a breakdown of essential ingredients:
- Protein: Provides sustained energy and supports body function. Consider adding nuts, seeds, or protein powder.
- Carbohydrates: Serve as the primary energy source. Opt for rolled oats or whole grains.
- Fats: Offer long-lasting energy and add richness. Healthy fats like coconut oil or nut butter are excellent options.
- Vitamins and Minerals: Ensure you include dried fruits or multivitamin powders for essential nutrients.
- Binders and Sweeteners: Honey, syrups, or dates keep bars cohesive while adding natural sweetness.
Balancing Nutrition and Taste
Creating emergency food bars is an art that balances nutrition and taste without compromising shelf life. Incorporating a variety of ingredients ensures you get a more rounded flavor profile that isn’t monotonous or overly sweet. Taste test as you refine your recipe to find a pleasing balance. Remember, these bars are meant to keep you going during difficult times, so ensuring they are palatable is crucial to encourage consumption.

Crafting Your Own Emergency Food Bars
Now that we’ve covered the necessities, it’s time to dive into the process of making your very own emergency food bars. Below are detailed steps and a basic recipe to guide you on this endeavor.
Basic Recipe Template
This recipe serves as a versatile template. Feel free to modify the ingredients based on your preferences and dietary considerations.
Ingredients:
- 2 cups of rolled oats
- 1 cup of mixed nuts (e.g., almonds, walnuts)
- 1/2 cup of dried fruits (e.g., raisins, apricots)
- 1/2 cup of honey or maple syrup
- 1/4 cup of nut butter (e.g., peanut, almond)
- 1 tablespoon of chia seeds or flaxseeds
- 1 teaspoon of vanilla extract
- Optional: 1/4 cup of dark chocolate chips
Instructions:
-
Preparation: Start by finely chopping your mixed nuts and dried fruits into small pieces. This ensures a more uniform texture in the bars.
-
Mix Dry Ingredients: In a large bowl, combine rolled oats, chopped nuts, dried fruits, chia or flaxseeds, and any optional ingredients like chocolate chips.
-
Combine Wet Ingredients: In a separate saucepan, warm the honey or maple syrup along with your choice of nut butter until fully blended. Stir in vanilla extract.
-
Form the Mixture: Pour the wet mixture over the dry ingredients. Stir well until everything is coated and the ingredients stick together.
-
Shape into Bars: Line a baking tray with parchment paper, spreading the mixture evenly. Press firmly to ensure the bars maintain their shape. Chill in the refrigerator for at least two hours.
-
Cut and Store: Once set, cut into desired bar sizes. Store in an airtight container or vacuum-sealed bag to extend shelf life.
Advanced Tips for Longer Shelf Life
Preserving the freshness of your food bars is crucial, especially if you intend to store them over extended periods. Here are some advanced tips:
- Vacuum Sealing: Removing air from storage bags can significantly extend the bars’ shelf life. Use a food vacuum sealer if available.
- Desiccant Packs: Including desiccant packs can help absorb moisture and prevent spoilage.
- Cold Storage: While not necessary, if you have space, refrigerating or freezing the bars can help them last longer without spoiling.
Nutrition Considerations and Tips
Understanding nutritional needs is crucial when preparing emergency food. Maintaining a balance of macronutrients ensures you stay energized and healthy through unforeseen events.
Ensuring Adequate Caloric Density
Emergency situations often necessitate high-calorie intake to replace expended energy. Utilize calorie-dense ingredients like nuts, seeds, and dried fruits which offer a compact source of energy without significant volume.
Cater to Dietary Restrictions
When making your bars, consider any dietary restrictions, such as gluten-free, vegan, or nut-free options:
- Gluten-Free: Use gluten-free oats and ensure other ingredients are certified gluten-free.
- Vegan: Replace honey with maple syrup or agave nectar.
- Nut-Free: Substitute with sunflower seeds and seed butters.
Balanced Nutrients
An emergency food bar should provide a balance of carbohydrates, proteins, and fats. You might find it helpful to use a simple table to plan your recipe’s nutritional balance:
| Macros | Recommended Ingredient |
|---|---|
| Protein | Nuts, seeds, protein powder |
| Carbs | Rolled oats, dried fruits |
| Fats | Nut butters, coconut oil, seeds |

Tweaks and Customizations
Everyone has unique tastes, so feel free to tweak the base recipe. Experimenting not only diversifies your flavors but can also address specific nutritional goals or preferences.
Flavor Variations
Consider these tweaks for different flavors:
- Chocolate Delight: Add cocoa powder and chocolate chips.
- Fruit Medley: Use a variety of dried fruits for a fruity burst.
- Spiced Adventure: Include spices like cinnamon or nutmeg.
Nutritional Adjustments
Adjust the nutritional profile by altering the ingredient ratios or adding supplements such as protein powder or superfoods like spirulina.
Providing for Emergencies: Practical Use Cases
Emergency food bars are versatile and can cater to various scenarios, from natural disasters to backpacking trips. Understanding when and how to use them ensures you’re always prepared.
Emergency Preparedness
Whether it’s a power outage or severe weather, having a supply of homemade food bars provides essential sustenance. They are non-perishable, easy to store, and useful when resources are limited.
Outdoor Adventures
When heading on hikes, camping trips, or other outdoor activities, these bars make an excellent portable snack. They require no preparation and offer a high energy source to keep you trekking longer.
Busy Days and Surprising Situations
Even outside of emergencies, a stash of these bars works perfectly for busy days when you need a quick meal or snack. Having a homemade bar to grab can make your daily life simpler and more nutritious.

Conclusion: Embrace the Resourcefulness
Making your own emergency food bars is an empowering and practical skill that can serve you in many situations. Not only does it ensure you have ready-made nourishment tailored to your needs, but it also empowers you to be self-reliant and resourceful. So the next time you plan your preparedness efforts, consider adding homemade emergency food bars to your repertoire—an option rich in nutrition, encompassing in taste, and gratifying in the sense of self-sufficiency.

